
Installing an off-grid solar battery system involves much more than placing a battery cabinet next to an inverter and connecting a solar array.
On a remote forest project supported by GeePower, the final system combined a 20kW / 51.2kWh battery energy storage system, 36 solar panels, three-phase distribution and dedicated electrical infrastructure across the site.
The project started with a small generator providing temporary power. As the site developed, electricity would eventually be needed for a building, pump house, gates, the lower yard and future outdoor lighting.
This article is not a complete installation manual. Instead, it looks at the practical site preparation, electrical integration and commissioning lessons that emerged during this real project.
The complete installation journey was documented by Jack on his YouTube channel. You can watch the full project video here:
[Watch the full forest off-grid project video →]
1. Plan the Site Infrastructure Before the Equipment Arrives
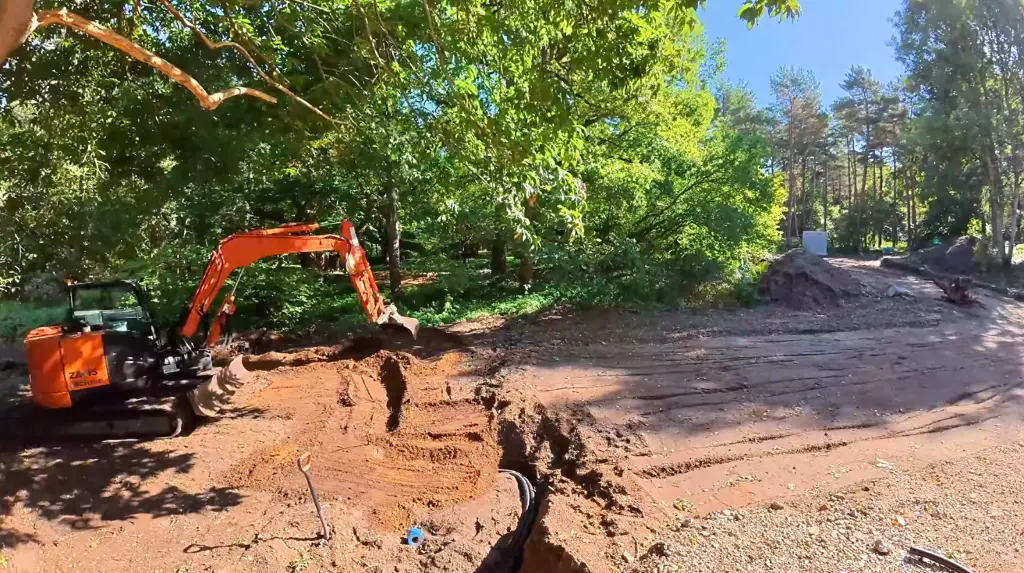
One of the first steps on the forest project was not installing the battery.
It was installing the underground power ducting.
The cable routes were prepared before the concrete foundation was poured and before the battery and inverter equipment were moved into position.
That sequence matters on remote sites because electricity may need to travel between several separate areas.
In this project, underground ducts were planned toward the pump house, gates, lower yard and other future loads. Had those routes been considered only after the battery system was installed, the site might have required additional excavation or changes to the finished installation.
Cable planning should therefore be considered together with equipment positioning.
Questions worth resolving before installation include where the battery and inverter will sit, how the PV cables will reach them, where the distribution equipment will be located, how future loads will connect and whether technicians will still have suitable access for inspection and maintenance.
The forest project also used two custom galvanized and powder-coated electrical kiosks. One handled incoming connections, while the other housed the main distribution equipment.
From there, power could be distributed toward several areas of the property.
The installation included a three-phase fuse board, surge protection and an 80A MCCB between the inverter system and the site's distribution network. A 25mm² SWA three-phase cable was used for the main connection.
Those specifications are specific to this project and should not be treated as universal recommendations.
The broader lesson is that equipment positioning, cable routes and power distribution should be planned together, especially when loads are spread across a large remote site.
2. Work Out the PV String Layout Before Installation Day
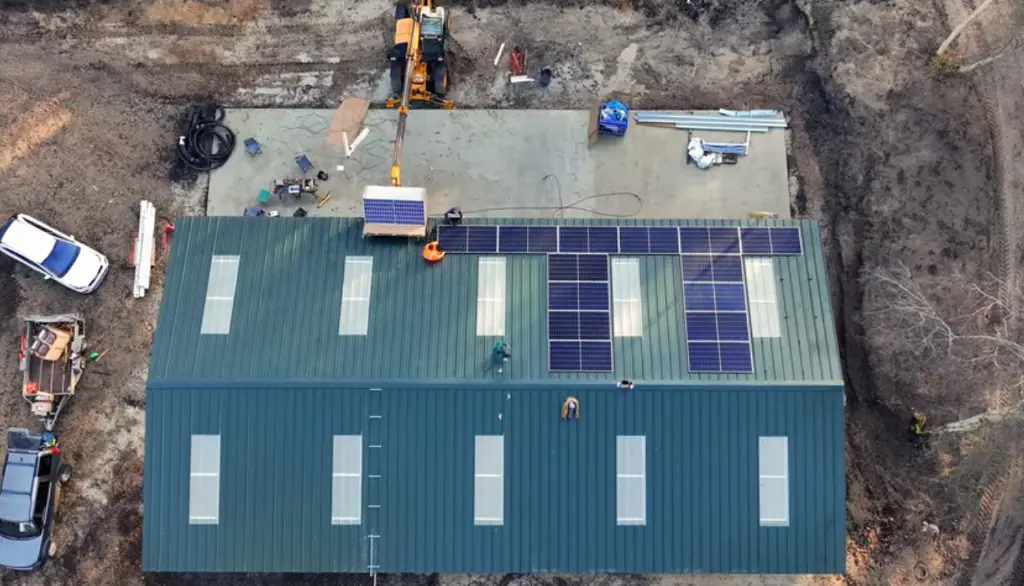
The project used 36 solar panels.
During installation, the owner quickly discovered that the panels could not simply be connected together as one large string. The final layout divided them into three strings of 12 panels.
His description in the project video was straightforward:
“You don't connect all the 36 panels together, I quickly learned.”
This is one of the clearest examples of why PV installation requires electrical planning before the panels are connected.
String design needs to take account of the electrical characteristics of the panels and the operating limits of the inverter.
For this system, the inverter provides two MPPT channels with an MPPT voltage range of 150–850VDC.
However, the fact that this particular project uses three strings of 12 does not mean the same configuration should be copied elsewhere.
A suitable string arrangement depends on factors such as panel Voc and Vmp, temperature conditions, inverter input limits, MPPT range and the number of available MPPT inputs.
The useful lesson is simple: panel count tells you how many modules are being installed. It does not tell you how they should be electrically connected.
3. Cable Management Is About More Than Appearance
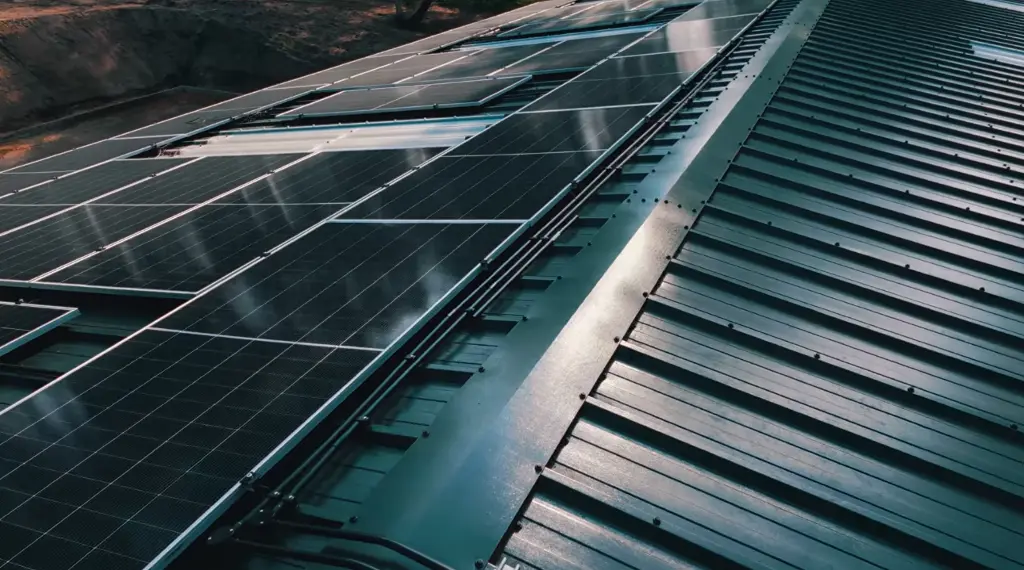
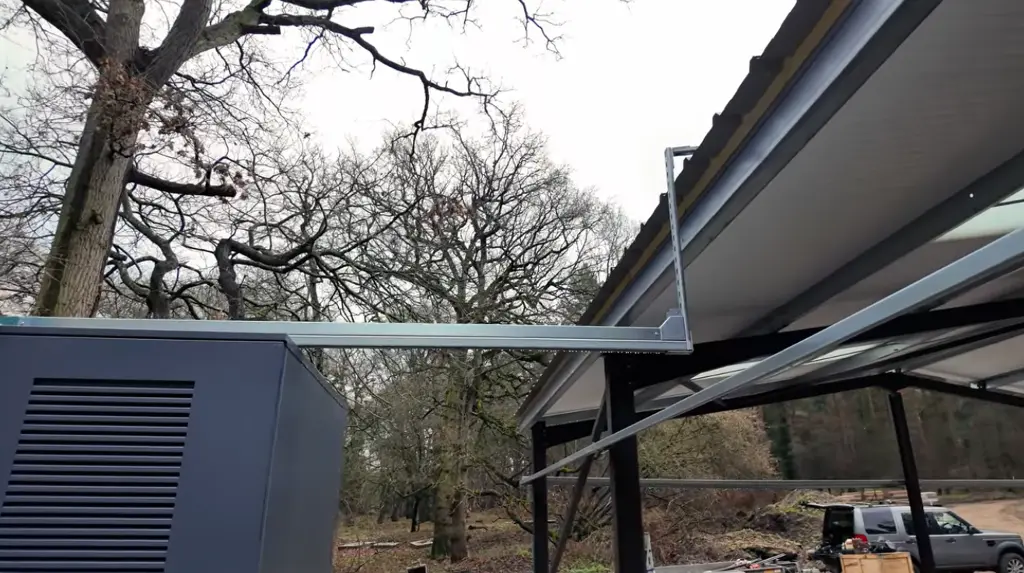
The project video shows considerable attention being given to cable routing.
Solar cables between the panels were placed inside protective trunking, which then connected into galvanized trunking leading toward the energy storage system. The main AC connection used armoured cable.
A tidy installation is easier to inspect, but cable management is not only a visual issue.
On an outdoor or remote project, cables can be exposed to weather, accidental impact and future construction activity.
Good routing and physical protection can also make troubleshooting easier because technicians can more clearly identify where individual circuits run.
This is especially relevant on sites that continue developing after the energy system has been installed.
4. Protection and Earthing Are Part of the Energy System
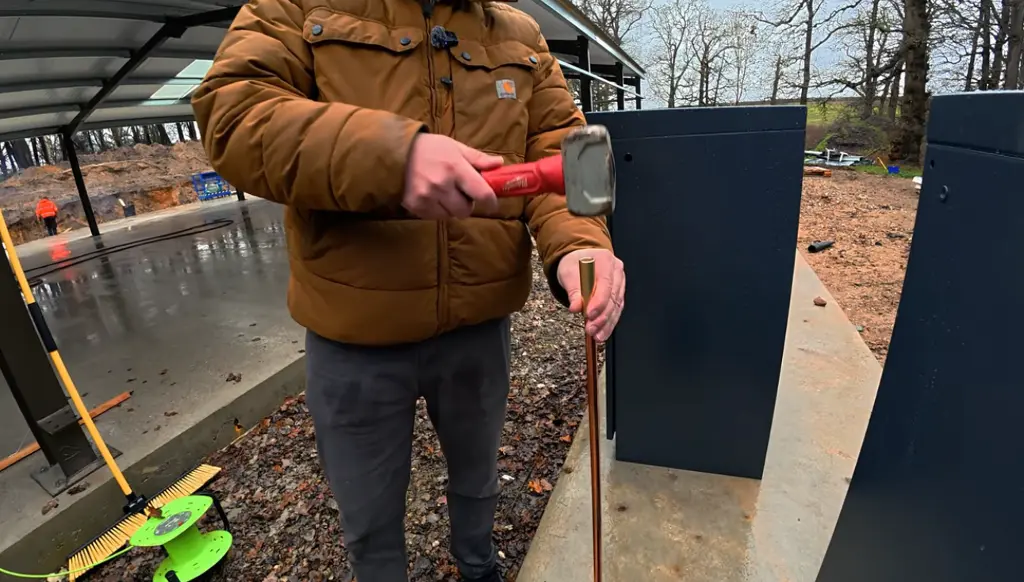
Solar panels, batteries and inverters usually receive most of the attention when an off-grid system is discussed.
Protection equipment is less visible, but it is still part of the complete installation.
On the forest project, two 2-metre earth rods were installed. The electrical infrastructure also included surge protection, circuit breakers, a solar protection board and the MCCB used to isolate the inverter from the distribution system.
These components serve different purposes, but together they illustrate an important point: an energy storage installation cannot be evaluated only by battery capacity and inverter power.
Isolation, earthing, surge protection and distribution protection all need to be considered as part of the electrical architecture.
The exact requirements vary according to system design, installation conditions and local electrical regulations.
For that reason, protection arrangements should be determined for the specific project rather than copied from another installation.
5. Expect Commissioning to Find Problems — and Make Technical Support Available
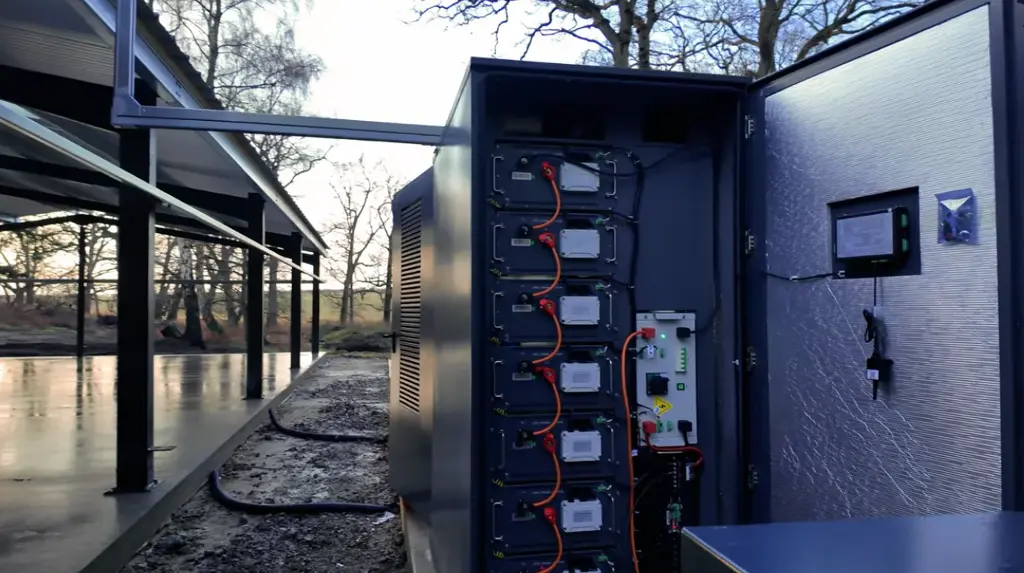
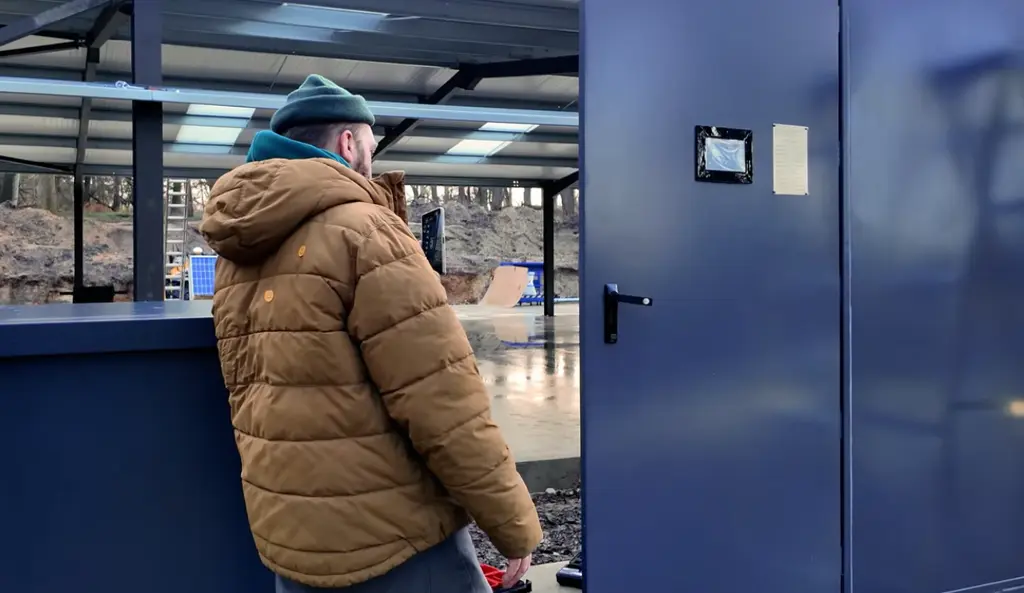
Perhaps the most useful part of this project is that the first startup did not go exactly as planned.
After the equipment was connected, the system initially failed to operate correctly.
Instead of presenting the installation as if everything worked immediately, the project video shows the owner bringing a laptop to diagnose the problem. A generator was also temporarily used to put charge into the system before it was brought back into operation.
Once the issue was resolved and the battery had sufficient charge, the system started operating normally.
This is a more realistic picture of commissioning than simply switching on the equipment and assuming the project is complete.
Commissioning is where integration problems become visible. Depending on the system, installers may need to confirm communication, inverter configuration, PV input and charge or discharge behaviour before the installation can be considered operational.
A problem discovered during commissioning does not necessarily mean the hardware itself is defective. Configuration, state of charge, communication or installation conditions may all affect startup.
During this project, GeePower provided remote technical guidance through phone, email and WhatsApp while the customer worked through installation and commissioning questions onsite.
This type of support can be particularly useful for international or geographically isolated projects where manufacturer engineers are not physically present.
6. Real Operation May Look Different from Commissioning Conditions
At the time the forest project was documented, the battery system had already been running for several months.
The owner reported:
“It's been working great for a few months now.”
Interestingly, the building was still under construction, so the site was not yet consuming enough electricity to regularly cycle the 51.2kWh battery.
The owner therefore occasionally switched the solar array off for around two days, allowing existing site loads to discharge the battery before reconnecting the PV system.
This was a project-specific operating choice made during a temporary low-load stage. It should not be treated as a standard battery testing or commissioning procedure.
The more useful lesson is that successful commissioning under partial load does not necessarily show how the system will behave once the site's full load profile is connected.
During filming, approximately 13–18kW of solar output was observed under changing sunlight conditions.
As the project develops, additional pumps, lighting, building loads and other equipment are expected to increase electricity consumption. Seasonal changes in solar production may also affect battery cycling.
For a developing site, system performance therefore needs to be evaluated over time as real operating conditions change.
What This Forest Project Cannot Be Used as a Template For
This project provides useful installation experience, but its hardware configuration should not be copied directly to another site.
Its 20kW / 51.2kWh configuration, three strings of 12 panels, 25mm² SWA cable and 80A MCCB were selected for this particular system and project.
Another installation may have different loads, cable distances, PV modules, environmental conditions, electrical regulations and backup requirements.
The transferable lesson is not the exact equipment configuration. It is the need to treat site preparation, electrical integration and commissioning as connected parts of the same project.
Installation Quality Is a System-Level Issue
A successful off-grid installation depends on coordination across the complete system, not on any single component.
For this forest project, the solar + storage system is already operating while the surrounding property continues to develop, providing a useful example of how installation decisions made early in the project affect later operation.
For a detailed look at the project itself, including the system configuration and current operating status, see the full forest off-grid energy storage case study.
Planning an off-grid project?
GeePower supports system configuration, solar and battery equipment supply, and remote technical guidance during installation and commissioning.
Learn more about GeePower's off-grid energy storage solutions →
Or,just talk to GeePower about your project →
NOTE:This article is based on the real installation journey documented by Jack through his YouTube channel. We would like to thank Jack for sharing his off-grid forest project and allowing GeePower to use selected project details and visuals to share the practical lessons from this installation. The installation process, project observations and operational experience described in this article are based on Jack’s own documentation and real-world use of the system.
FAQ
Site preparation typically includes selecting the equipment location, planning foundations or mounting, establishing cable routes, defining the distribution layout and confirming how the battery, inverter, PV array and loads will be connected. Protection, access for maintenance and future loads should also be considered before installation starts.
Not necessarily. Some off-grid systems operate primarily with solar and battery storage, while others retain a generator for backup, extended low-solar periods or specific operating requirements. In this forest project, a generator was temporarily used during commissioning to help restore charge to the system.
Solar panels must be connected so that string voltage and current remain within the inverter's electrical and MPPT operating limits. The correct configuration depends on the selected panels, inverter specifications and environmental conditions, so string layouts should be calculated for each project.
Useful support may include system configuration guidance, documentation, parameter confirmation, communication troubleshooting and assistance during commissioning. For this project, GeePower provided remote support by phone, email and WhatsApp throughout the installation and startup process.